


APAAR ID Registration Online: Complete Step-by-Step Guide to Create and Download Your APAAR ID Card via DigiLocker

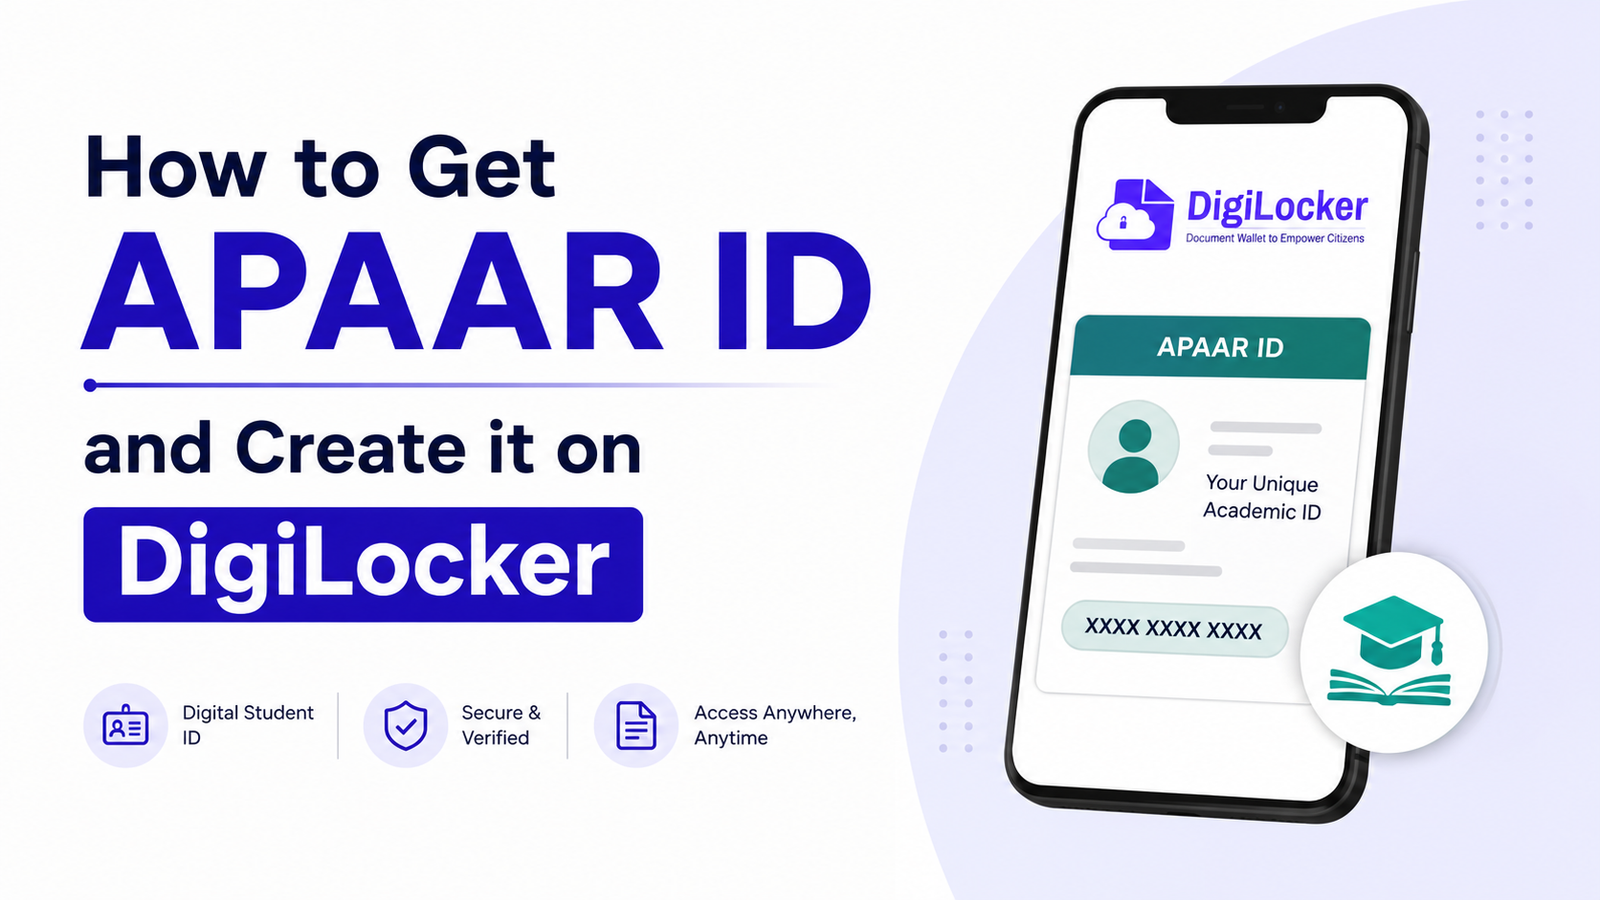
If you are a student in India and have been hearing about the APAAR ID everywhere — from your school, college, or university — you are not alone. The APAAR ID has quickly become one of the most searched topics among students, parents, and teachers. In this guide, we will cover everything you need to know: what APAAR ID is, why it is important, and a complete APAAR ID registration online process using DigiLocker.
By the end of this article, you’ll know exactly where to find your APAAR ID, how to complete APAAR ID registration online, and how to download your card for future use.
What is APAAR ID?
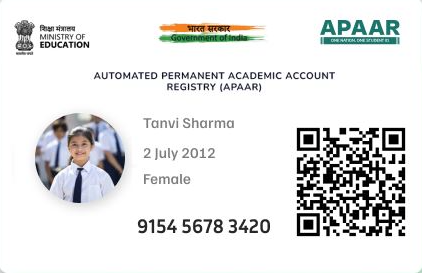
APAAR stands for Automated Permanent Academic Account Registry. It is a unique 12-digit identification number issued to students under India’s National Education Policy (NEP) framework, linked to the Academic Bank of Credits (ABC). Think of it as a “One Nation, One Student ID” system — a single academic identity that stays with a student throughout their entire educational journey, from school to higher education.
The APAAR ID is generated and issued through DigiLocker, the Government of India’s official digital document platform, which means it is completely digital, secure, and accessible pan-India — it isn’t limited to any one state or institution.
Why is APAAR ID Important?
Many students wonder why they suddenly need an APAAR ID student card. Here are the key reasons:
- Unified academic record: Every exam, certification, and qualification a student earns can be tracked and stored digitally against this one ID.
- Academic Bank of Credits (ABC) integration: Credits earned from various courses, exams, and institutions get accumulated in one place, which is especially useful for students who wish to switch colleges, take a break from studies, or pursue multiple certifications.
- Simplified admissions and verification: Schools, colleges, and universities are increasingly asking for the APAAR ID during admissions, making the APAAR ID registration online process a necessary step for every student.
- Portability: Since it’s a pan-India digital ID, students can carry their academic history with them regardless of which institution or state they study in next.
- Reduces paperwork: No more running around for physical mark sheets and certificates for basic verification — much of it can now be accessed digitally through your APAAR ID and DigiLocker.
Where to Find Your APAAR ID Details
Before starting registration, it helps to know what details you’ll need. Depending on your situation, you may be asked to provide one of the following as an “Identity Value” during the process:
- Roll Number — found on your admit card, mark sheet, or result portal
- Registration Number — issued by your school board or university
- College ID / Admission Slip Number — given by your college at the time of admission
- Enrollment Number — if applicable to your course or institution
- New Admission — select this option if you’ve just taken admission and don’t have any of the above yet
- None — if you don’t have any of these details but still want to create your APAAR ID card
Don’t worry if you’re unsure which one applies to you — the DigiLocker platform will guide you through the correct selection during registration.
How to Create APAAR ID: Step-by-Step Registration Process
Here is the complete, updated process for APAAR ID registration online through the DigiLocker mobile app. The process has become much simpler compared to earlier methods.
Step 1: Download the DigiLocker App
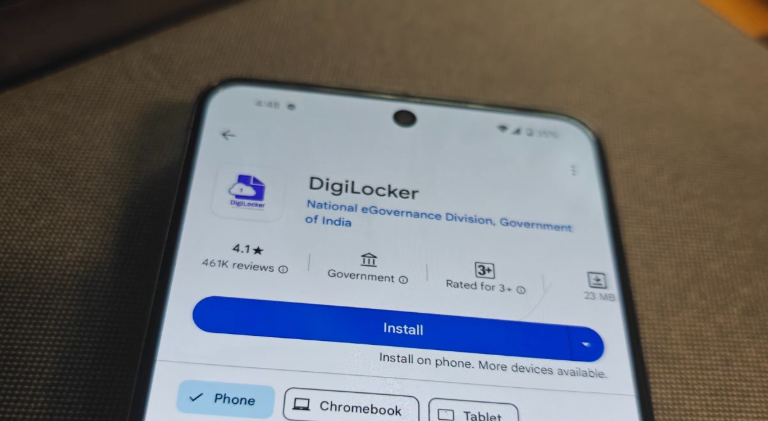
Go to the Play Store (or App Store for iOS users) and search for DigiLocker. This is an official Government of India application where all your government-issued documents are stored digitally, and it now includes the option to create your APAAR ID directly.
Tap Install to download the app.
Step 2: Open the App and Select Your Language
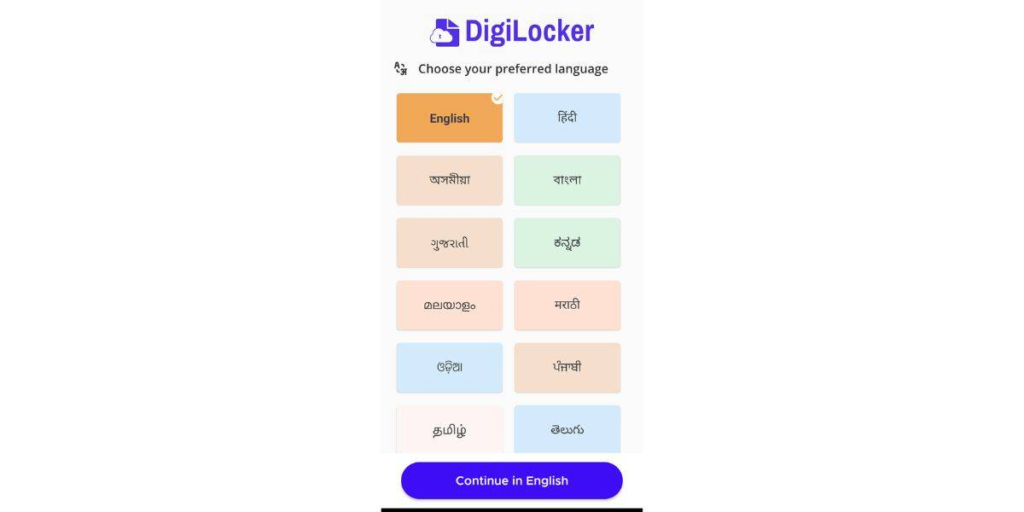
When you open the app for the first time, select your preferred language. You can choose English (default) or any other supported language, then tap Next, followed by Let’s Go.
Step 3: Create Your DigiLocker Account
Since this is your first time using the app, you’ll need to create an account:
- Tap Get Started
- Allow the requested permissions
- Enter your mobile number
- Tap Continue
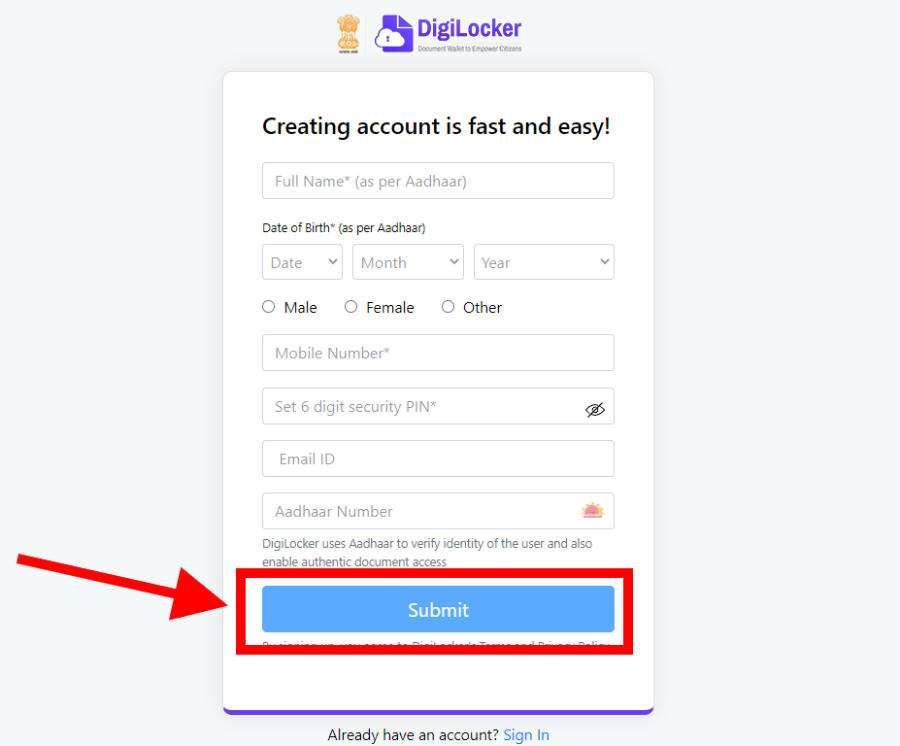
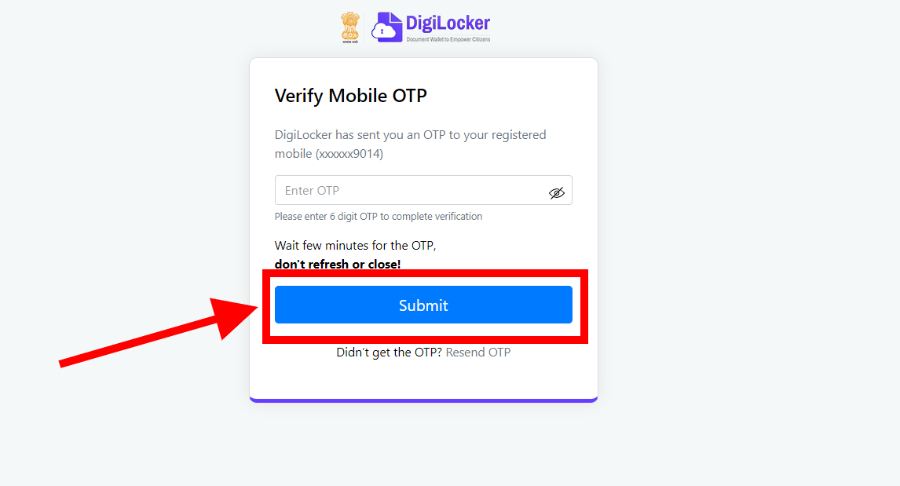
Step 4: Verify Your Mobile Number (OTP)
An OTP will be sent to the mobile number you entered. Enter the OTP and tap Verify to confirm your mobile number.
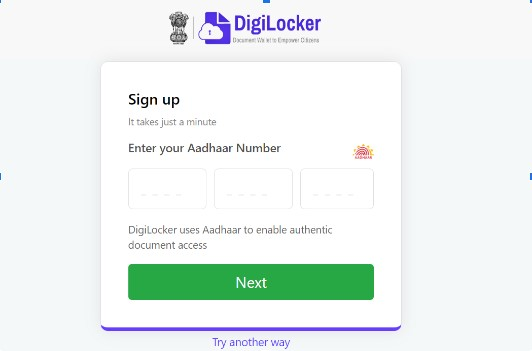
Step 5: Enter Your Aadhaar Number
Once your mobile number is verified, you’ll be asked to enter your Aadhaar number. This is required because your academic documents are fetched using Aadhaar-based authentication. Enter your Aadhaar number and tap Verify.
Step 6: Choose Your Aadhaar Authentication Method
You’ll see two authentication options:
- Aadhaar OTP: Use this if your mobile number is linked to your Aadhaar card. An OTP will be sent to your Aadhaar-linked number.
- Aadhaar Face Authentication: Use this if your mobile number is not linked to your Aadhaar. You can complete verification using a facial scan instead.
Select whichever option applies to you, enter the OTP (or complete face authentication), and submit.
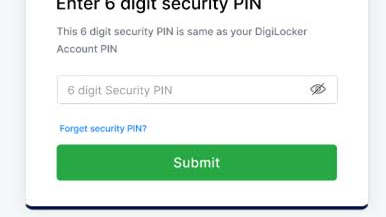
Step 7: Set Up a Security PIN
After successful verification, you’ll be asked to create a 6-digit security PIN. This PIN will let you log in quickly the next time you open the app without repeating the entire setup.
- If you’re a new user, simply set your preferred PIN.
- If your account already exists and you don’t remember your PIN, tap Forgot PIN, enter your date of birth for verification, and set a new PIN.
Step 8: Complete Registration and Grant App Permissions
Once your PIN is set, your DigiLocker registration is complete. The app may ask for a few more permissions (such as location and notifications) — allow them as needed to proceed to your dashboard.

How to Create APAAR ID Card: Detailed Steps
Now that your DigiLocker account is ready, here’s how to actually generate your APAAR ID:
Step 9: Search for APAAR on DigiLocker
On the DigiLocker dashboard, tap the search bar and type “APAAR”. Select the APAAR option from the results — this is a Pan-India, Central Government portal available to all students under the Academic Bank of Credits initiative, regardless of state or institution.
Step 10: Verify Your Auto-Filled Information
Once you open the APAAR option, most of your basic information — such as your name, date of birth, and gender — will be auto-fetched and displayed. Review these details carefully.
Step 11: Enter Your Identity Value
Here you’ll need to select and enter one identity value:
- Roll Number
- Registration Number
- College ID / Admission Slip Number
- Enrollment Number
- New Admission (if you’ve just enrolled)
- None (if you have no reference number yet)
Choose the option that matches your situation.
Step 12: Select Your Admission Year
Next, select the year in which you took admission. Choose the correct year based on your academic documents.
Step 13: Search and Select Your College/University
You’ll now see a search option to find your college, school, or university/board. Type the name of your institution, select it from the list, and tap Get Document.
Step 14: APAAR ID Card Generation
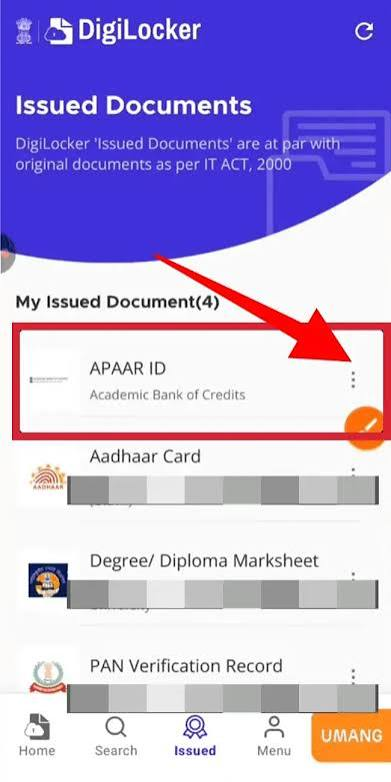
After a few seconds, you’ll see a “Fetching Completed” message. Your APAAR ID will then be generated and will appear under the Issued Documents section of the app.
How to Download and Use Your APAAR ID
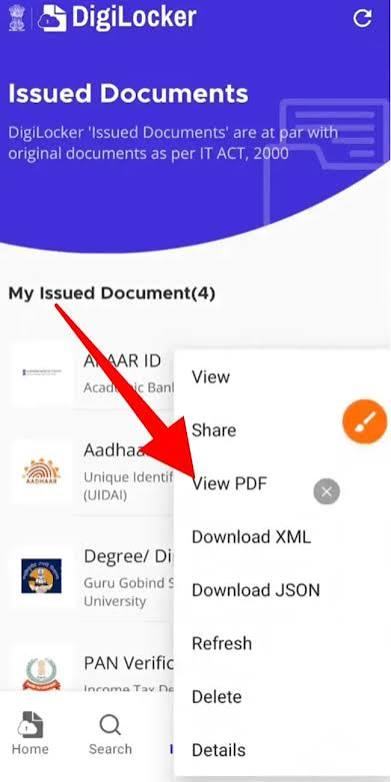
Once generated, tap on the APAAR ID document to view it. You’ll see your APAAR ID card with your name, unique ID number, and the official DigiLocker stamp confirming it was digitally issued by the Government of India.
From here, you can:
- Download the APAAR ID as a PDF for offline use
- Print the card and submit it wherever required (school, college, or university)
- Share it directly via WhatsApp or other platforms using the built-in share option
Your APAAR ID card will always remain stored in the DigiLocker app, so you can access, download, or share it anytime you need it in the future — no need to redo the entire process.
APAAR ID Check Online: Checking Your Academic Bank of Credits (ABC) Points
Once your APAAR ID is created, you can also visit the Academic Bank of Credits (ABC) portal to check the credit points associated with your academic achievements. Every time you qualify for an exam or complete a course, credit points get added to your account, which you can track on the ABC portal.
The ABC portal also offers an alternate design of the ID card, which you can download directly from there if you prefer. Both versions of the card (from DigiLocker and ABC) are valid and accepted wherever an APAAR ID is required.
Login APAAR ID: Accessing Your ID Later
To log in and access your APAAR ID again in the future:
- Open the DigiLocker app
- Enter your registered mobile number or use your security PIN
- Complete OTP/PIN verification
- Go to the Issued Documents section to view or download your APAAR ID
Since your ID is permanently linked to your DigiLocker account, you’ll never lose access to it as long as you remember your login credentials.
Frequently Asked Questions (FAQs)
1. Is APAAR ID mandatory for students? While not universally mandatory yet, many schools, colleges, and universities are increasingly requiring the APAAR ID for admissions and record-keeping, making it highly advisable to create one.
2. Is there any fee for APAAR ID registration? No, the APAAR ID registration process through DigiLocker is completely free.
3. Can I create an APAAR ID without a roll number? Yes. If you don’t have a roll number, registration number, or enrollment number, you can select “New Admission” or “None” during registration.
4. What if my Aadhaar is not linked to my mobile number? You can use the Aadhaar Face Authentication option instead of Aadhaar OTP to complete verification.
5. Where can I find my APAAR ID after creating it? Your APAAR ID stays saved in the Issued Documents section of the DigiLocker app, and you can also check/download an alternate copy from the Academic Bank of Credits (ABC) portal.
